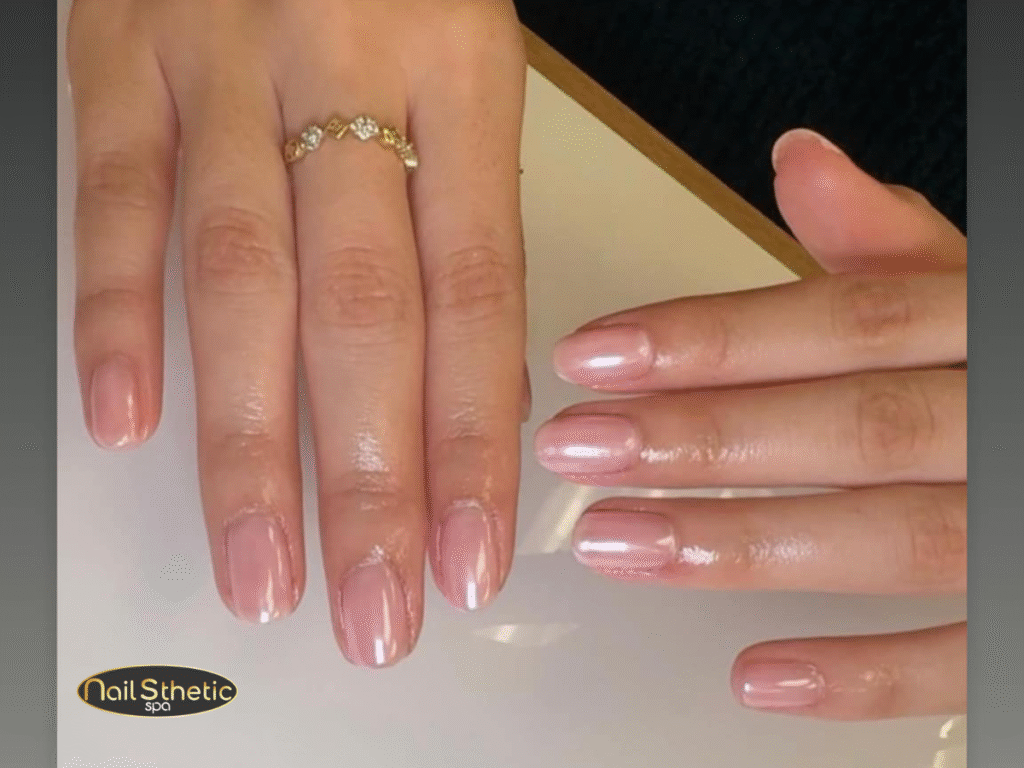
Acrylic nails look beautiful and can last for weeks. But sometimes, you want to take them off at home. Maybe they’re damaged, or you want a fresh look. Removing acrylic nails yourself is possible, but it needs to be done carefully. If you remove them wrong, you could hurt your natural nails. This guide will show you how to remove acrylic nails at home safely and easily in 2025.
What Are Acrylic Nails?
Acrylic nails are fake nails made from a mix of powder and liquid. They stick to your real nails and make them longer and stronger. Many people love acrylic nails because they look great and last long. But when it’s time to take them off, you need to do it right to keep your nails healthy.
Safety Tips Before You Start
Before you start, remember a few safety rules:
- Be gentle. Don’t pull or peel off the nails. It can hurt your natural nails.
- Use the right tools. Using unsafe items can cause injury or infection.
- Work in a well-ventilated area. Acetone, the nail polish remover used for acrylics, has a strong smell.
- Protect your skin. Acetone can dry out your skin, so use moisturizer after removal.
Tools You Will Need
To remove acrylic nails at home, get these simple items:
- Pure acetone nail polish remover (make sure it’s 100% acetone)
- Cotton balls or pads
- Aluminum foil, cut into small strips
- Nail file or buffer
- Cuticle pusher or orange stick
- Small bowl (optional)
- Nail moisturizer or oil
Step-by-Step Guide: How to Remove Acrylic Nails at Home
Here’s an easy way to take off your acrylic nails:
File the Top Layer
Use a nail file to gently file off the shiny top layer of your acrylic nails. This helps the acetone soak in better.
Soak Cotton Balls in Acetone
Dip cotton balls or pads in acetone until they are wet but not dripping.
Wrap Each Nail with Acetone Cotton and Foil
Place the soaked cotton ball on your nail, then wrap it tightly with a small piece of foil. This keeps the acetone on your nail and helps it work faster.
Wait 15-20 Minutes
Give the acetone time to soften the acrylic. Be patient—it may take up to 20 minutes.
Remove the Foil and Cotton
Carefully unwrap one nail at a time. The acrylic should look soft and crumbly.
Gently Push Off the Acrylic
Use a cuticle pusher or orange stick to gently push off the softened acrylic. Don’t force it—if it’s hard to remove, wrap the nail again and wait a few more minutes.
Buff and Clean Your Nails
Once the acrylic is off, use a nail buffer to smooth your nails gently.
Moisturize
Acetone dries your nails and skin, so apply nail oil or moisturizer to keep your nails healthy.
Alternative Methods for Removing Acrylic Nails
If you don’t want to use foil wraps, you can try:
- Soaking your nails in a bowl of acetone: Put your nails in a small bowl of acetone for about 15-20 minutes. This can be messier but works the same way.
- Professional removal: If your nails feel weak or the acrylic is stubborn, visiting a nail salon is safer.
Common Mistakes to Avoid
- Don’t peel or pull off acrylic nails: This can damage your real nails badly.
- Don’t rush the process: Removing acrylic nails takes time and patience.
- Avoid using harsh tools: Sharp objects can hurt your skin and nails.
- Don’t skip moisturizing: Acetone dries out your nails and skin, so always moisturize afterward.
How to Care for Your Nails After Removal
After you remove acrylic nails, your natural nails may feel weak or dry. Here’s how to help them recover:
- Apply cuticle oil daily to keep nails hydrated.
- Use a nail strengthener or hardener.
- Avoid nail polish for a few days to let nails breathe.
- Eat healthy foods rich in vitamins, like biotin, to support nail growth.
When to See a Professional
If your acrylic nails are thick, damaged, or if you feel pain during removal, it’s best to visit a nail technician. They have special tools and experience to remove acrylics safely. Also, if you notice redness, swelling, or infection, seek professional care immediately.
FAQs About Removing Acrylic Nails at Home
Q: Can I soak my nails in acetone without foil?
A: Yes, but using foil helps acetone work faster and cleaner.
Q: How long does it take to remove acrylic nails at home?
A: Usually 15-30 minutes depending on the thickness of the acrylic.
Q: Will removing acrylic nails damage my natural nails?
A: If done carefully, no. But peeling or forcing acrylics off can cause damage.
Q: How often should I moisturize my nails after removal?
A: Daily moisturizing helps keep nails healthy and strong.
Conclusion
Removing acrylic nails at home is easy and safe when you follow the right steps. Always be patient and gentle to protect your natural nails. Using acetone with proper tools and care can help you remove your acrylic nails without damage.
If you’re unsure or your nails feel weak, visiting a professional nail salon is a smart choice. Taking care of your nails after removal is just as important to keep them healthy and beautiful.
For expert nail care or professional acrylic removal, consider visiting Nailsthetic Spa in Corona, CA. They offer a wide range of nail services like manicures, pedicures, acrylics, gel-x, nail art, and more. Their trained staff ensures safe and high-quality service. Contact us today to learn more and keep your nails looking their best!


