

Do you want stronger, longer, and more beautiful nails without using acrylics? Builder gel might be the perfect answer!
Builder gel is one of the most popular nail products today. The product provides nail strength while creating a smooth finish and maintaining its shiny appearance for a long period. You can achieve salon-quality results by mastering builder gel application techniques at home or in a salon.
What Is Builder Gel and Why Should You Use It?
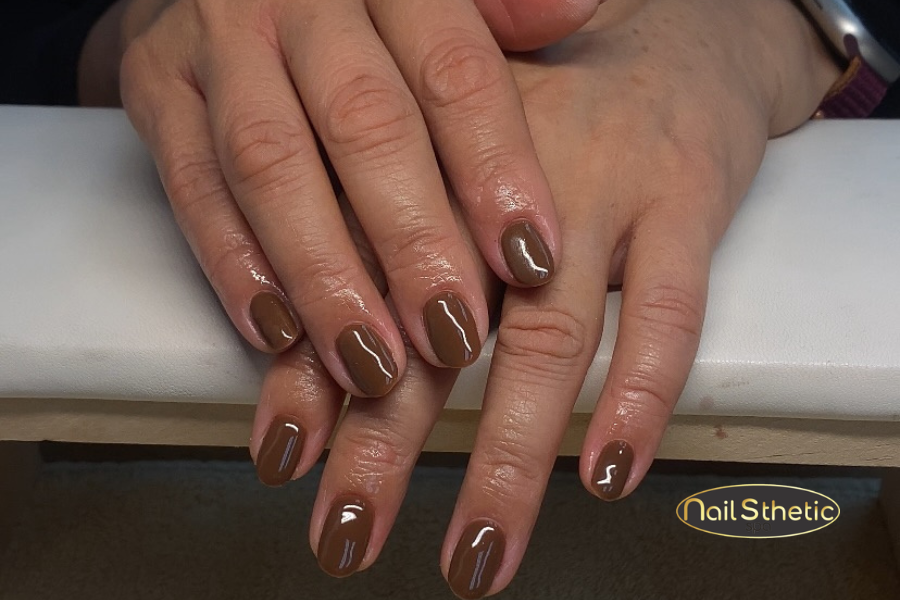
Builder gel exists as a thick clear gel which provides protection and shapes natural nails. Regular nail polish does not offer the same benefits because this product strengthens nails while stopping them from breaking and peeling.
The gel type produces a hard surface after UV or LED lamp curing which scientists refer to as “hard gel”.
Benefits of builder gel:
- Adds strength and thickness to natural nails
- Helps weak nails grow longer without breaking
- Creates a smooth, glossy finish
- Lasts for weeks with proper care
- Can be used alone or with nail polish
According to nail experts, builder gels are one of the safest and most flexible options for nail strengthening. They don’t harm your natural nails when applied and removed properly.
Tools and Products You’ll Need
Before applying builder gel, make sure you have all the right tools. Being prepared helps you work faster and ensures better results.
You’ll need:
- Nail file and buffer
- Cuticle pusher
- Nail cleanser or rubbing alcohol
- Nail dehydrator and primer (optional)
- Gel base coat
- Builder gel (clear, nude, or pink)
- Gel brush or nail brush
- UV or LED nail lamp
- Gel top coat
- Cuticle oil
How to Use Builder Gel on Natural Nails
Now that you have your tools ready, let’s go through the process step-by-step. Follow these simple directions to get strong, beautiful nails that last for weeks.
Prep Your Nails
This is the most important step! Start by removing any old polish or gel. Trim and shape your nails using a nail file. Then, gently push back your cuticles with a cuticle pusher.
Use a nail buffer to lightly remove shine from the nail surface. This helps the gel stick better.
Finally, clean your nails with a nail cleanser or rubbing alcohol to remove dust and oil.
Apply a Base Coat
Apply a thin layer of gel base coat to your nails. This helps the builder gel bond better and prevents lifting later.
Cure the base coat under a UV or LED lamp for about 30 to 60 seconds, depending on your lamp’s instructions.
Apply the Builder Gel
Now comes the main part!
Take a small amount of builder gel on your brush. Start in the middle of your nail and gently move the gel toward the edges. Keep it even and smooth.
Be careful not to touch your skin or cuticles.
Once the layer is even, cure your nails under the lamp for about 60 seconds. If you want stronger nails, apply a second, slightly thicker layer and cure again.
Wipe and Shape
After curing, your nails may feel sticky. Don’t worry — that’s normal! Use a cleanser or alcohol wipe to remove the sticky layer.
Then, file and shape your nails to your desired style — square, round, or almond. Buff the surface gently to smooth out any uneven areas.
Finish With a Top Coat
A thin layer of gel top coat should be applied to achieve both maximum shine and long-lasting durability. The curing process continues with your UV or LED lamp during the specified time duration. Your nails will achieve salon-quality gloss after you remove all remaining stickiness.
How to Remove Builder Gel Safely
When it’s time to change your nails, it’s important to remove builder gel carefully. Peeling or pulling can damage your natural nails.
Here’s how to remove it safely:
- File the top layer of your builder gel gently.
- Soak cotton pads in acetone.
- Place them on your nails and wrap each finger with foil.
- Wait about 10–15 minutes.
- Gently push off the softened gel using a cuticle pusher.
- Buff lightly and apply cuticle oil to restore moisture.
Experts recommend giving your nails a few days to breathe before reapplying builder gel.
Common Mistakes to Avoid
Even basic nail care routines will fail when you do not pay attention to the process. Here are a few common mistakes to avoid when using builder gel on natural nails:
- Skipping nail prep: If your nails are not clean and dry, the gel may lift or peel.
- Using too much gel: Thick layers take longer to cure and can look uneven.
- Not curing properly: Follow the curing time based on your lamp’s strength.
- Touching the gel before curing: This can cause smudges or uneven finishes.
- Skipping the top coat: Without it, your nails may lose shine or chip early.
Avoiding these mistakes will help your nails stay strong and glossy for weeks.
Builder Gel vs. Regular Gel Polish
Many people think builder gel and gel polish are the same, but they are not.
|
Feature |
Builder Gel |
Gel Polish |
|
Thickness |
Thick | Thin |
| Strength | Adds strength and structure |
Adds color and shine |
|
Use |
For overlays or nail extensions | For color layers |
| Durability | 3–4 weeks |
2–3 weeks |
|
Ideal for |
Weak or thin nails |
Already strong nails |
If your nails break easily, builder gel is a better choice. It strengthens your natural nails while keeping them flexible.
How Long Does Builder Gel Last?
With proper care, builder gel can last up to 3–4 weeks without lifting or breaking.
To make it last longer:
- Don’t use your nails as tools.
- Keep them dry for a few hours after application.
- Use cuticle oil every day to keep your nails healthy.
- Get regular refills if your nails grow fast.
According to a report by NailPro Magazine, most salon clients return every 3–4 weeks for maintenance to keep their nails strong and smooth.
Is Builder Gel Safe for Natural Nails?
Builder gel maintains safety standards when users follow proper application and removal procedures. The product functions as a protective barrier which guards delicate nails against harm.
According to dermatologists, builder gels do not harm the nail plate as long as you avoid over-filing and harsh removal.
Always make sure you use high-quality gel products and cure them properly. The use of low-quality gels which contain harmful substances leads to skin irritation and allergic reactions.
Expert Tips for Perfect Nails
Here are a few quick tips from professional nail artists:
- Always clean your tools before and after use.
- Apply thin, even layers for a natural look.
- Don’t forget to seal the free edge of your nails to prevent lifting.
- Use a gentle nail file to avoid thinning your natural nail surface.
- Keep your hands moisturized daily.
These small steps make a big difference in how your nails look and last.
Conclusion:
Learning how to use builder gel on natural nails is a great way to get stronger, glossier, and longer-lasting nails — right at home or in the salon. Your nails will remain beautiful for several weeks when you practice patience and handle them with care.
The achievement of successful outcomes depends on selecting high-quality items together with maintaining safety methods during the process. A complete transformation of the situation needs professional intervention.
The city of Corona in California hosts Nailsthetic Spa as its local business. The salon provides exceptional service through their team of professional nail technicians who maintain strict safety standards. The team members have received proper training which allows them to perform all tasks with exactness and care.